Foam rolling has become a staple in gyms, fitness studios, physical therapy clinics, and even home living rooms, but for beginners, it can feel confusing, uncomfortable, or even intimidating. Is it supposed to hurt? How long should you roll? Does it actually help? When used correctly, it can be a simple, effective tool to keep your body moving well, especially for active individuals dealing with tight, overworked, and also tight, underworked muscles. Anyone can use a foam roll. This article will break down the benefits of roam rolling and how to use one safely and effectively. With the correct movements and some basic knowledge, foam rolling can be a helpful daily tool to support training and overall movement health.
As a form of self-myofascial release, foam rolling can support recovery and movement quality when incorporated into a routine. Benefits include reducing muscle tension, improving range of motion, and supporting muscle recovery. Foam rolling may also help manage areas of repetitive stress by improving tissue tension and supporting the health of surrounding joints, tendons, and muscles. It creates harmony between the muscles and surrounding areas, resulting in improved function and performance. In activities like running, the same tissues are loaded repeatedly. Over time, this repetitive load can increase tension. Foam rolling may help ease some of that tension, reducing the stress placed on joints such as the knees, hips, and feet.
Why Trust Us?
ACTIVE.com's editorial team relies on the knowledge and experience of fitness and wellness experts, including competitive athletes, coaches, physical therapists, nutritionists, and certified trainers. This helps us ensure that the products we feature are of the highest standard. Collectively, the team has spent countless hours researching equipment, gear, and recovery tools to create the most accurate, authentic content for our readers. Customer satisfaction is also a key part of our review process, which is why we only feature highly rated products.
Foam rolling works by applying controlled pressure to muscles, improving tissue mobility and reducing the sensation of tightness. Foam rolling helps improve how tissues glide and communicate with the nervous system. This is why slow, controlled rolling with moderate pressure is often more effective than aggressive or painful rolling.
There are some key safety points to keep in mind when starting. It should feel controlled and intentional, not rushed or painful. Allow the roller to move gradually along the muscle rather than quickly back and forth. Avoid rolling directly over joints or the lower back. Focus on the larger muscle groups that support movement. Discomfort is normal, but sharp pain or holding your breath indicates it's time to reduce pressure or stop. For beginners, spending 30 to 60 seconds on each area is enough to gain benefits without overdoing it.
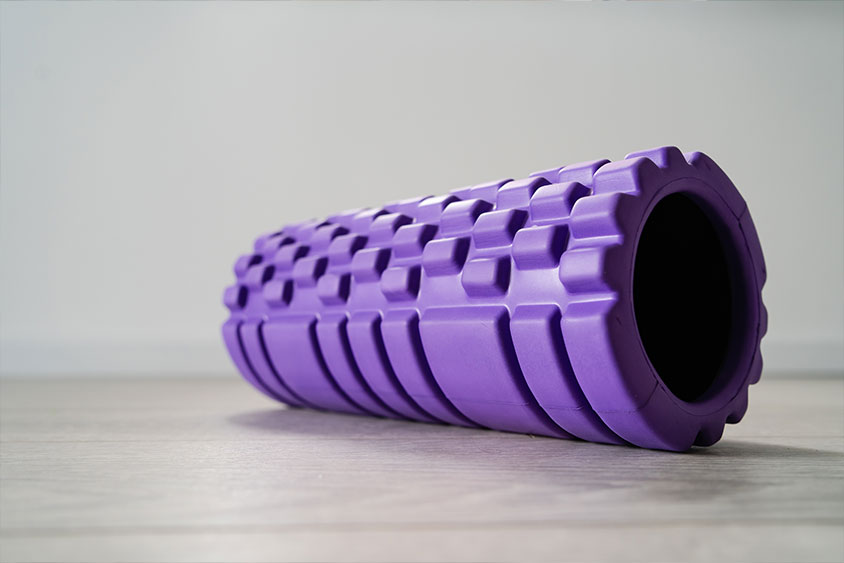
When choosing a foam roll, a soft or medium-density, smooth foam roller is ideal. These provide adequate pressure without excessive discomfort, whereas very dense or textured rollers will feel more intense.
The following movements target commonly tight areas in runners and active individuals. This series will focus on the legs. Keep in mind, there are many uses for a foam roller, but this is a great place to begin. Move slowly, breathe steadily, and stop if you experience sharp pain. This sequence starts at the hips and moves down the leg.
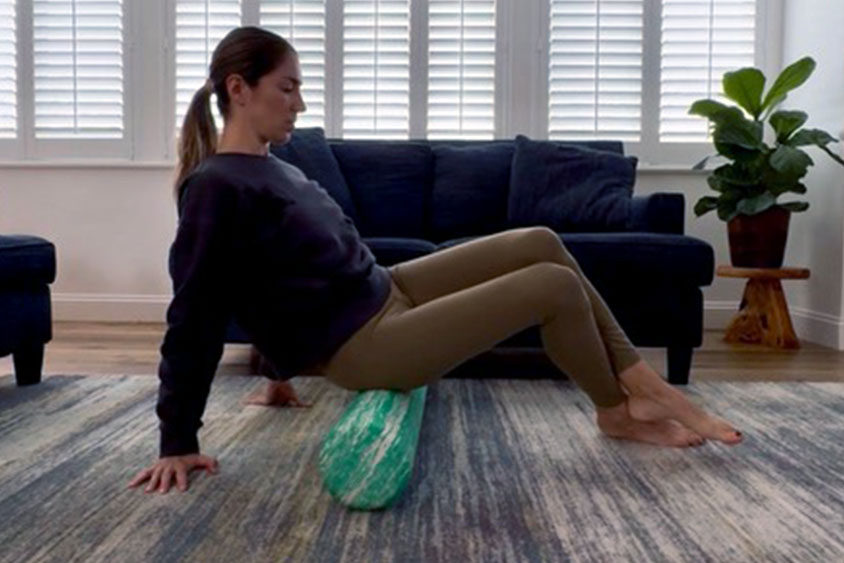
Glutes
Why:
The glute muscles help stabilize the hips and pelvis during walking and running. Tension here can influence how the rest of the leg moves.
How to do it:
Sit on the foam roller with one hip supported into the roller and the opposite leg or ankle crossed over the knee to increase pressure if comfortable. Place your hands on the floor behind the roller for support. Slowly roll over the fleshy portion of the glute muscles on one side, keeping movements controlled and steady.
What to avoid:
Avoid rolling directly over the lower back or tailbone.
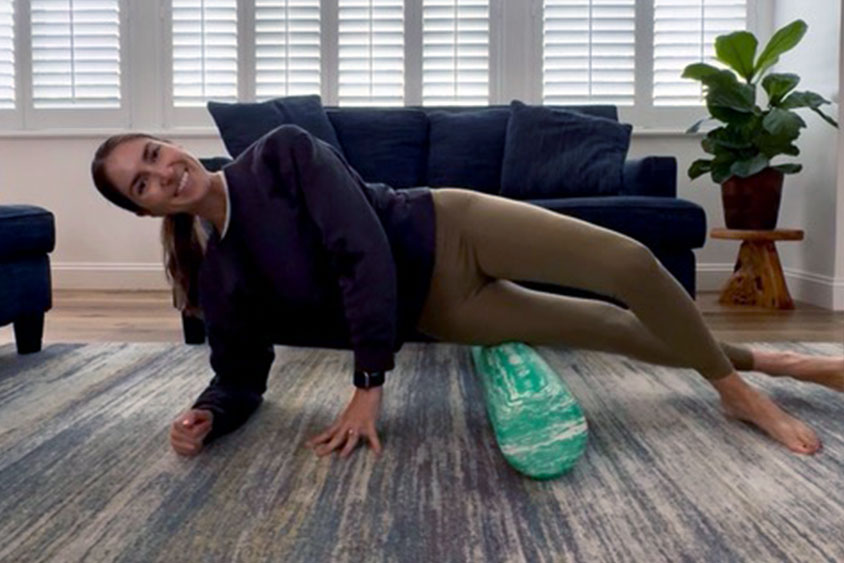
Outer Thigh (IT band region)
Why:
The muscles along the outer thigh support hip and knee alignment and can become tight with repetitive activities such as running.
How to do it:
Lie on your side with the foam roller positioned under the outer thigh. Use your elbow and opposite foot for support on the ground. Slowly roll from the top of the thigh toward the knee. Stay relaxed and controlled. Discomfort here is normal. Think of staying more on the outside of the quadricep muscle rather than directly into the IT band.
What to avoid:
Avoid rolling directly over the knee and using excessive pressure. Your elbow, opposite hand, and foot on the floor can help reduce the pressure on the foam roller.
Why:
The quadriceps help control knee motion and absorb impact during running and other activities.
How to do it:
Lie face down with the foam roller positioned under the front of both thighs. Use your forearms to support your body. Slowly roll from the top of the thighs toward the knees. Keep your body in a straight line and use your arms to move.
What to avoid:
Avoid rolling directly over the knee joint or moving too quickly through the movement.
Hamstrings
Why:
Hamstring tension can limit hip motion and change how force is distributed to the leg. This can place extra stress on the lower back, knees, or calves.
How to do it:
Sit with the foam roller under the back of one thigh, the other leg crossed at the ankles, and your hands supporting you behind the roller. Slowly roll from just above the knee toward the sit bones.
What to avoid:
Avoid locking the knee or leaning too far back into your hands.
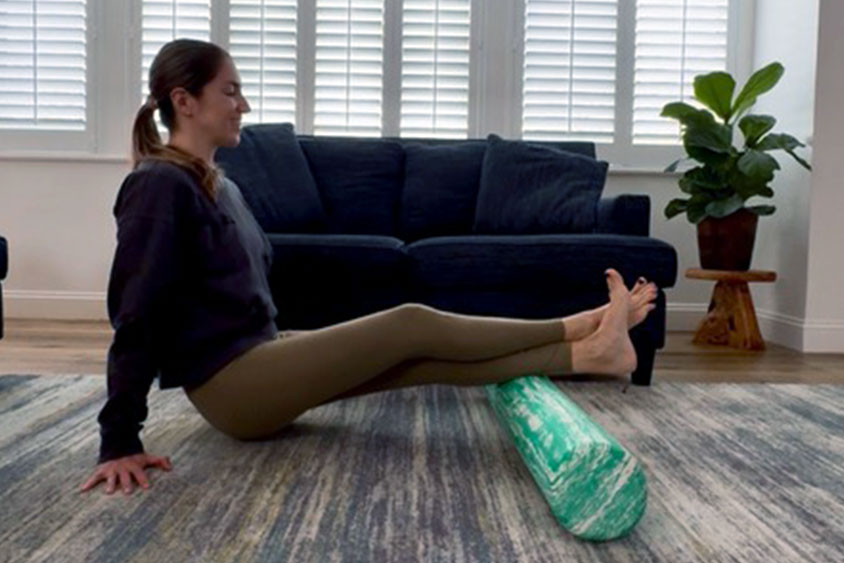
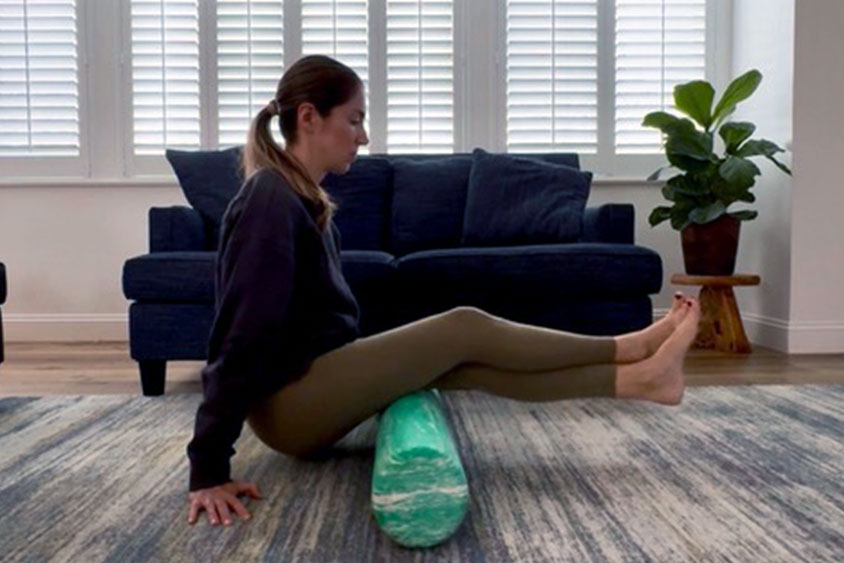
Calves
Why:
The calf muscles play a key role in propulsion and shock absorption during running.
How to do it:
Sit on the floor with the foam roller under your calves and your hands behind you for support. Slowly roll from the ankle toward the back of the knee. One leg may be crossed over the other to increase pressure slightly.
What to avoid:
Avoid rolling directly behind the knee and the ankle or forcing pressure through painful knotted areas.
Foam rolling does not need to be long or intense to be effective. Consistency and controlled pressure matter more than how long or how hard you roll. If you find tender or knotted areas, common in the calves, pause and hold there a bit longer with moderate pressure. Slow it down and breathe while allowing tension to release into the roller. For areas like the outer thigh, a higher-pain point area, start with 10-15 seconds and work your way up to 30 seconds in later roll sessions. Think of allowing the body and its muscles to become more supple so that they work with you instead of being rigid, causing pain spots that work against you.
About the Author

Kristina Duffy is a Pilates Instructor and movement specialist who helps active individuals return to pain-free movement after injury, pregnancy, or prolonged time away from sport. Working with a wide range of bodies and experience levels, she specializes in core rehabilitation, strength restoration, and sustainable training practices that support long-term performance and pain-free living. Kristina’s approach emphasizes building body awareness, reducing fear around movement, and building confident strength so clients can live and perform at their best.
Get ACTIVE on the Go

Couch to 5K®
The best way to get new runners off the couch and across the finish line of their first 5K.
Available for iOS | Android


Discuss This Article